—HTML Series · Post 16: Developer Tools
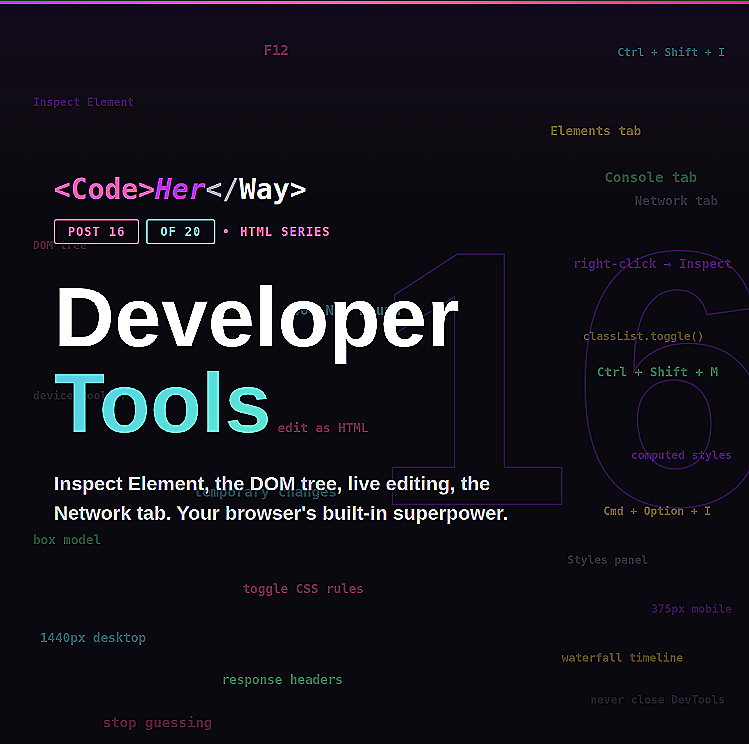
Developer Tools:
Your Browser's Superpower
Every browser ships with a built-in development toolkit. Learning to use it is the single biggest unlock for any beginner. This is where you stop guessing and start debugging.
You've been writing HTML for a while now. You've linked stylesheets, built forms, structured tables, embedded videos. But at some point, something is going to break. A style won't apply. An image won't load. A layout collapses on mobile. And your first instinct might be to stare at your code and hope the bug reveals itself.
There's a better way. Every major browser — Chrome, Firefox, Edge, Safari — ships with Developer Tools (DevTools). It's a free, built-in toolkit that lets you inspect, edit, and debug your website in real time. Once you learn to use it, you'll wonder how you ever coded without it.
This isn't an advanced topic. This is a beginner essential. You should have DevTools open every single time you're building a website.
Opening DevTools
Three ways in — pick whichever feels natural:
This is the method you'll use most. See a button that's the wrong color? Right-click it → Inspect. It opens DevTools and immediately highlights the HTML and CSS for that exact element. No searching — the browser takes you right there.
The Four Tabs You Need Right Now
DevTools has a lot of tabs. You don't need all of them yet. These four cover 95% of what a beginner needs:
1. Inspect Element & The DOM Tree
The Elements panel shows the live HTML of the page — not your source code, but what the browser is actually rendering right now. This is the DOM tree (Document Object Model).
When you hover over any element in this tree, the browser highlights it on the actual page — showing its dimensions, padding, margins, and borders in colored overlays. Click an element and the right panel shows every CSS rule applied to it.
View Source (Ctrl+U) shows your original HTML file — exactly as written. The DOM tree in DevTools shows what the browser built from that file — after parsing, error correction, and JavaScript modifications. If JavaScript adds elements dynamically, they appear in the DOM but not in View Source. When debugging, the DOM tree is almost always what you want.
2. Editing HTML & CSS Live
This is the part that blows beginners' minds: you can edit HTML and CSS directly in DevTools and see the results instantly on the page. No saving. No refreshing. Change it and watch.
Every edit you make in DevTools is temporary. Refresh the page and it all resets. This is actually a feature — you can experiment fearlessly. Try wild CSS changes, rearrange elements, test colors — when something works, go update your actual source files.
Don't go back and forth between your code editor and the browser. Open DevTools, make changes live until it looks right, then copy the CSS values back to your source file. Designers and senior devs use this workflow constantly. It saves enormous amounts of time.
3. The Network Tab — Seeing Every Request
The Network tab shows every file your page loads — HTML, CSS, JavaScript, images, fonts, API calls. Open it, refresh the page, and watch the requests roll in. Here's what it looks like:
See that 404 on logo.png? That means the browser tried to load that image and couldn't find it. The path is wrong or the file doesn't exist. This is how you diagnose broken images, missing stylesheets, and failed script loads — instantly, without guessing.
The Network tab also reveals performance problems. If that hero image is 2.4 MB, you'll see it right here. If a third-party font is taking 3 seconds to load, you'll see it. Everything is visible.
The Network tab has filter buttons at the top: All, Fetch/XHR, JS, CSS, Img, Font, Doc. Click CSS to see only stylesheets. Click Img to see only images. When you're hunting a specific missing file, filters help you find it fast.
4. Device Mode — Testing Responsive Design
Click the device icon in the DevTools toolbar (or press Ctrl+Shift+M) to toggle responsive design mode. This lets you simulate how your page looks on different screen sizes without touching a phone.
You can select specific devices (iPhone 14, Pixel 7, iPad) from the dropdown, or drag the viewport edges to any custom width. The page re-renders in real time as you resize.
Device simulation is great for testing layout, but it's not identical to a real device. Touch interactions, browser-specific rendering, and actual performance can differ. Always do a final test on a real phone before launching. But for daily development? Device mode saves you from pulling out your phone every two minutes.
I spent my first three months coding without ever opening DevTools. I thought it was an "advanced" thing that real developers used. When something looked wrong, I'd change one line of CSS, save, refresh, check. Change another line, save, refresh, check. Over and over.
Then someone showed me I could just right-click an element and edit CSS live. I tested twelve different font sizes in about eight seconds. Changes appeared instantly on screen. No saving. No refreshing.
I was so annoyed nobody told me sooner. DevTools isn't advanced — it's day one material. Open it right now. Keep it open. Never close it. 🔧
🔨 Mini Build: DevTools Scavenger Hunt
Open any website you admire and complete these tasks using only DevTools:
The Bottom Line
DevTools isn't optional. It's not "advanced." It's the single most important tool you have as a web developer, and it's been sitting in your browser this entire time waiting for you to use it.
Elements lets you inspect and edit HTML and CSS live. Console shows you errors. Network reveals every file your page loads and catches broken paths instantly. Device Mode lets you test responsive designs without a phone.
From this point forward, DevTools should be open every time you're writing code. Not sometimes. Every time. This is where beginners become developers — when you stop guessing what's wrong and start seeing what's wrong.
You've now covered every major pillar of HTML: document structure, text, links, images, lists, semantic elements, forms, tables, media, file organization, meta tags, accessibility, and the developer tools to tie it all together. This is a real, complete HTML foundation. You're not just learning — you're building skills that transfer directly to CSS, JavaScript, and everything beyond.